Introduction
UWB stands for ultra-wideband, it is a form of radio transmission technology that utilized a large bandwidth of radio frequency, more than 500MHz, and emitting very low energy. For comparison, a WiFi router usually has a band width of 40MHz. Because the UWB utilized a spread spectrum, it has minimum interference with conventional narrow band or carrier wave. Ultra wideband technology today has a wide range of applications for indoor locationing, and sensor data collections. In locationing, the UWB technology has advantages on precision, less interference and lower energy.
Bitcorn this year is utilizing the UWB locaitonning technology to aid the autonomous feature for our robot this year. We have chosen the UWB locationing product from estimote Inc. The reasoning behind our selection of the product is that multiple locationing nodes can be installed with a relative low cost, it’s ease for maintenance and installation due to its small size, and at last, the software development kit for ios and ROS (robotic operating system) that provided by the estimote inc. reduced the complexity for us to develop software for our system.
The basic unit for the locationing system is a beacon, each beacon can measure the precise distance between itself and other beacons. When the beacons are installed in a room, it can interact with smart phones and give them their location. In our robot, one of the beacon is kept on board as the mobile receiver to the locationing signal.
Physical installation
The setup for the locationing system for our competition in Kenny GYM start with the physical installation of the beacons inside Kenny GYM. We have chose to install the beacons on basketball hoop in the Kenny GYM. The installation location is shown in the schematic below. 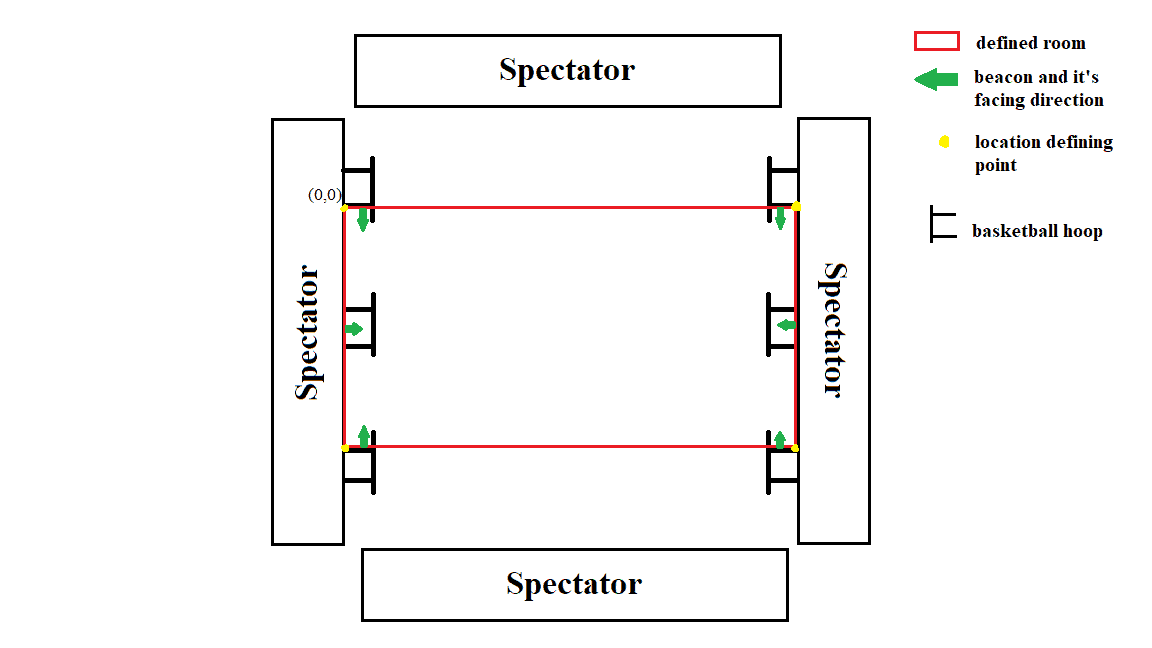
Image 1, Installation of Location Beacon in the Kenny Gym
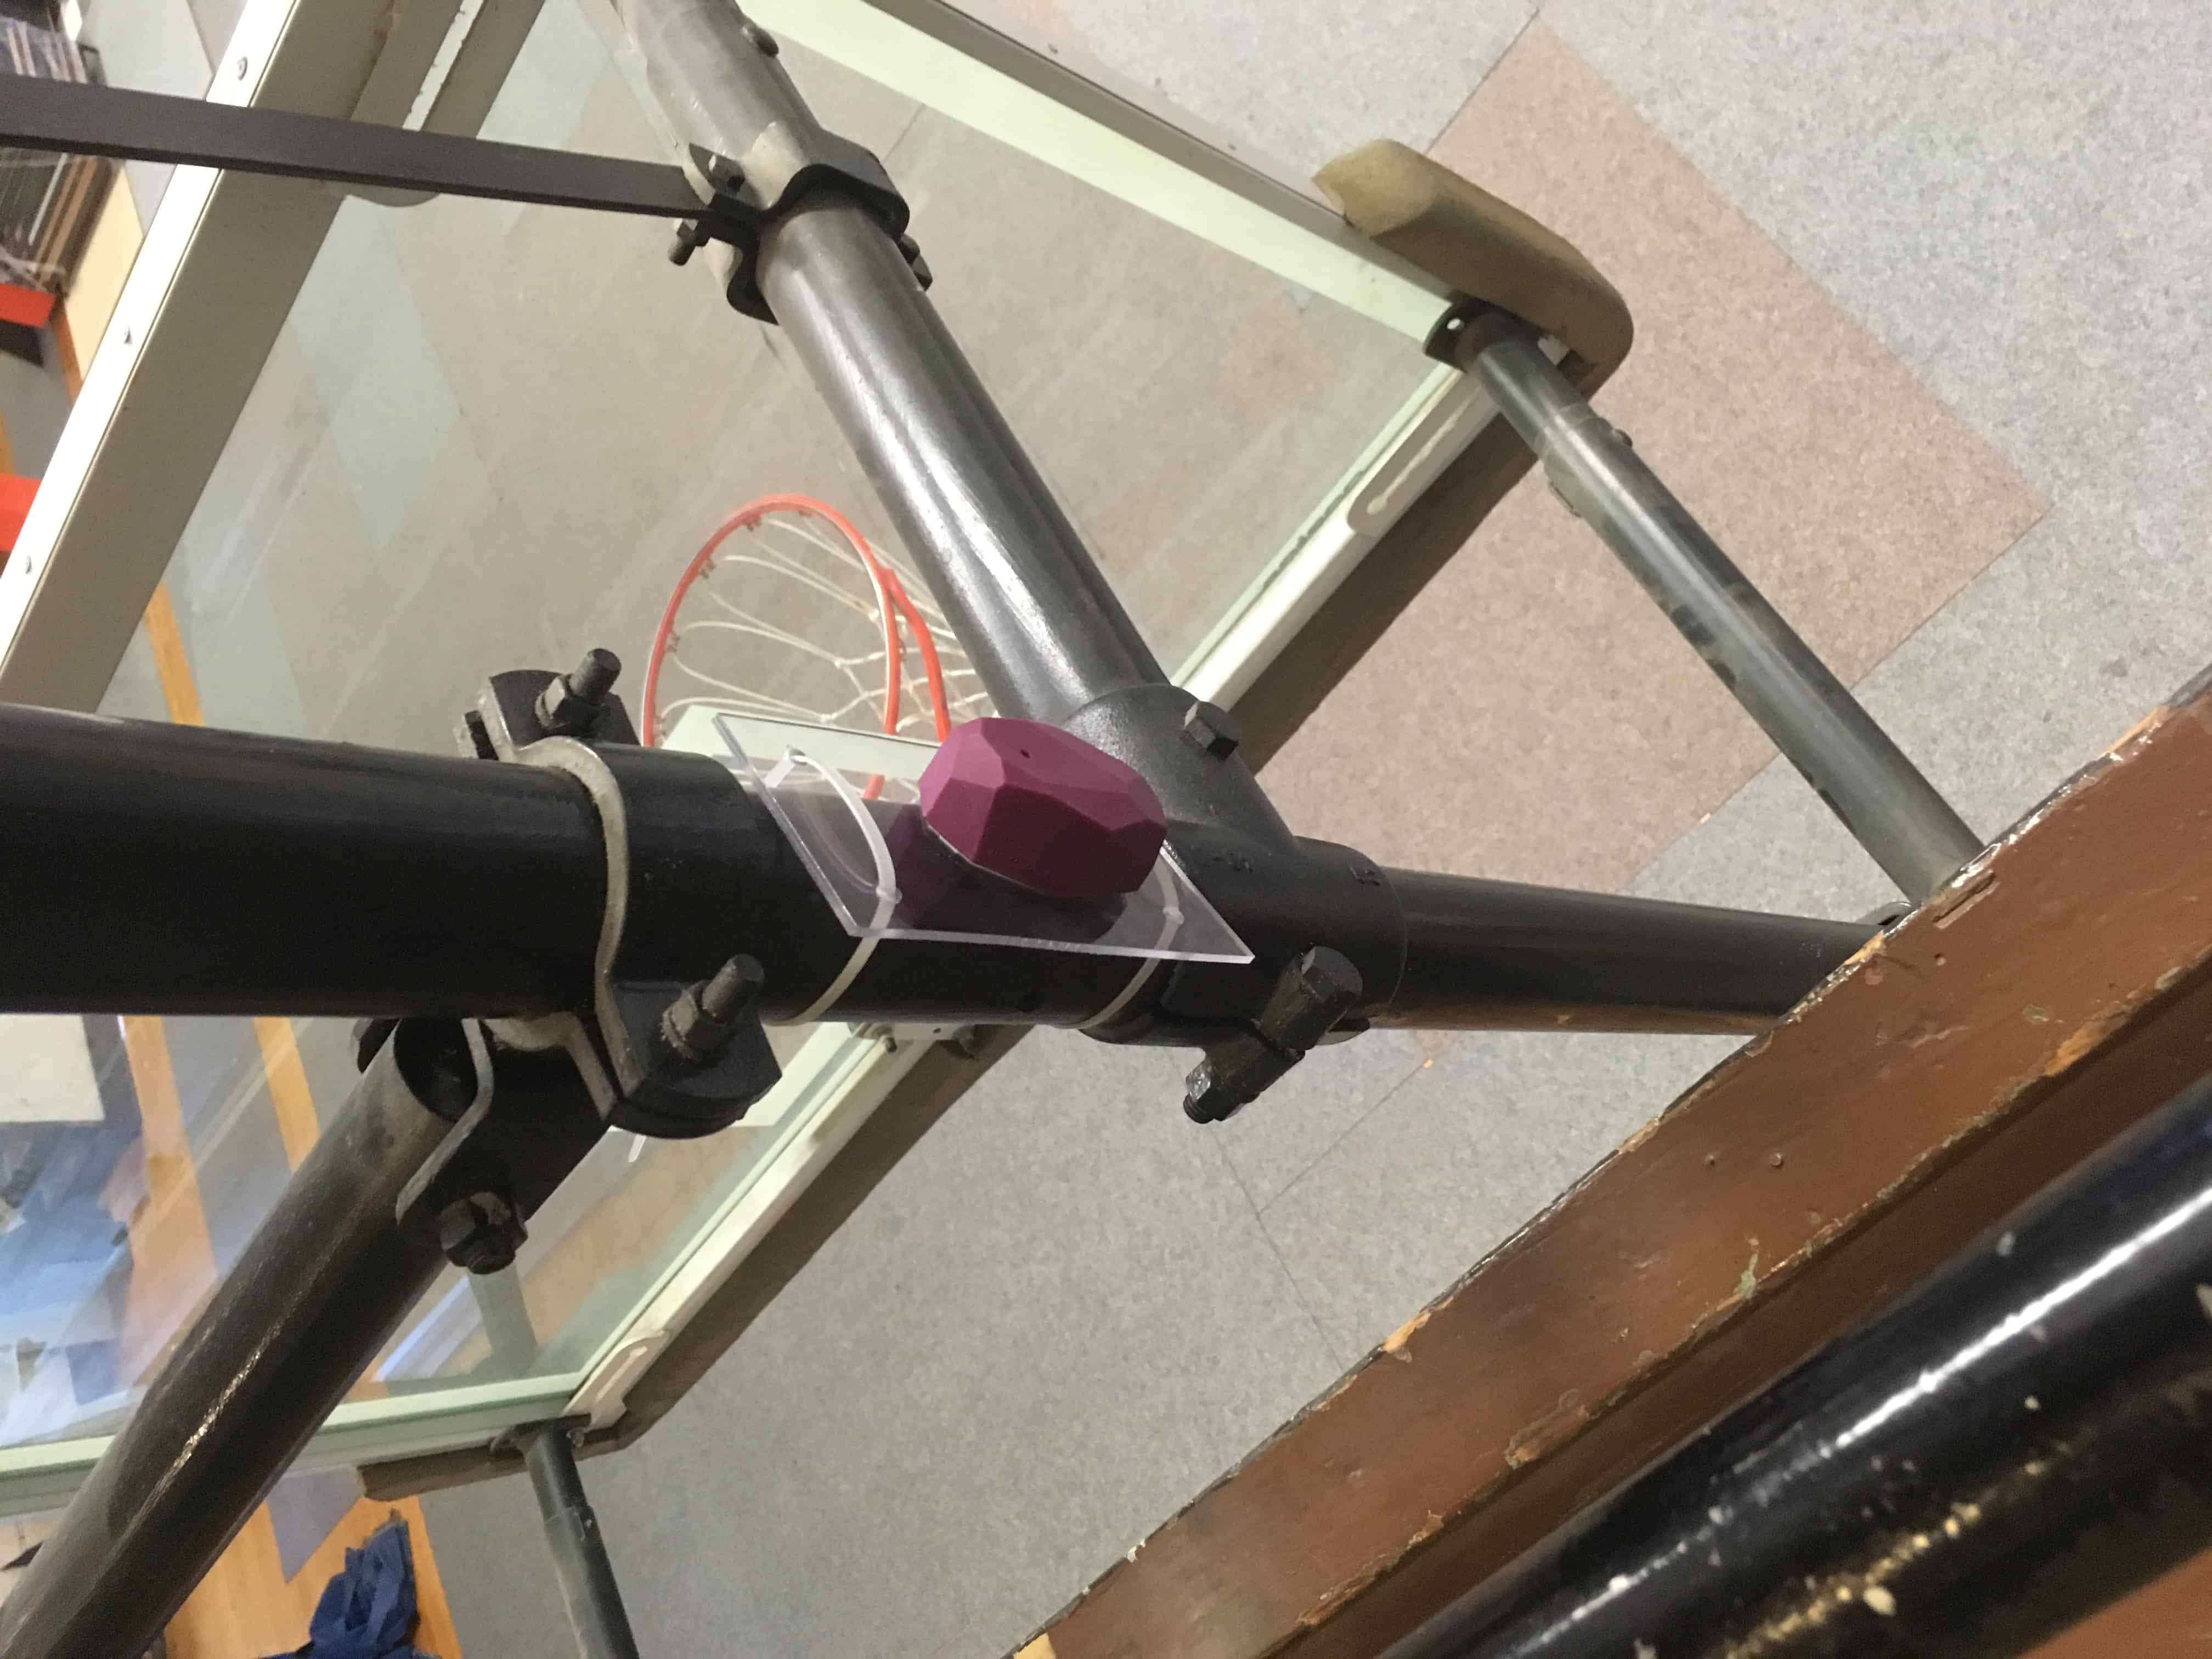
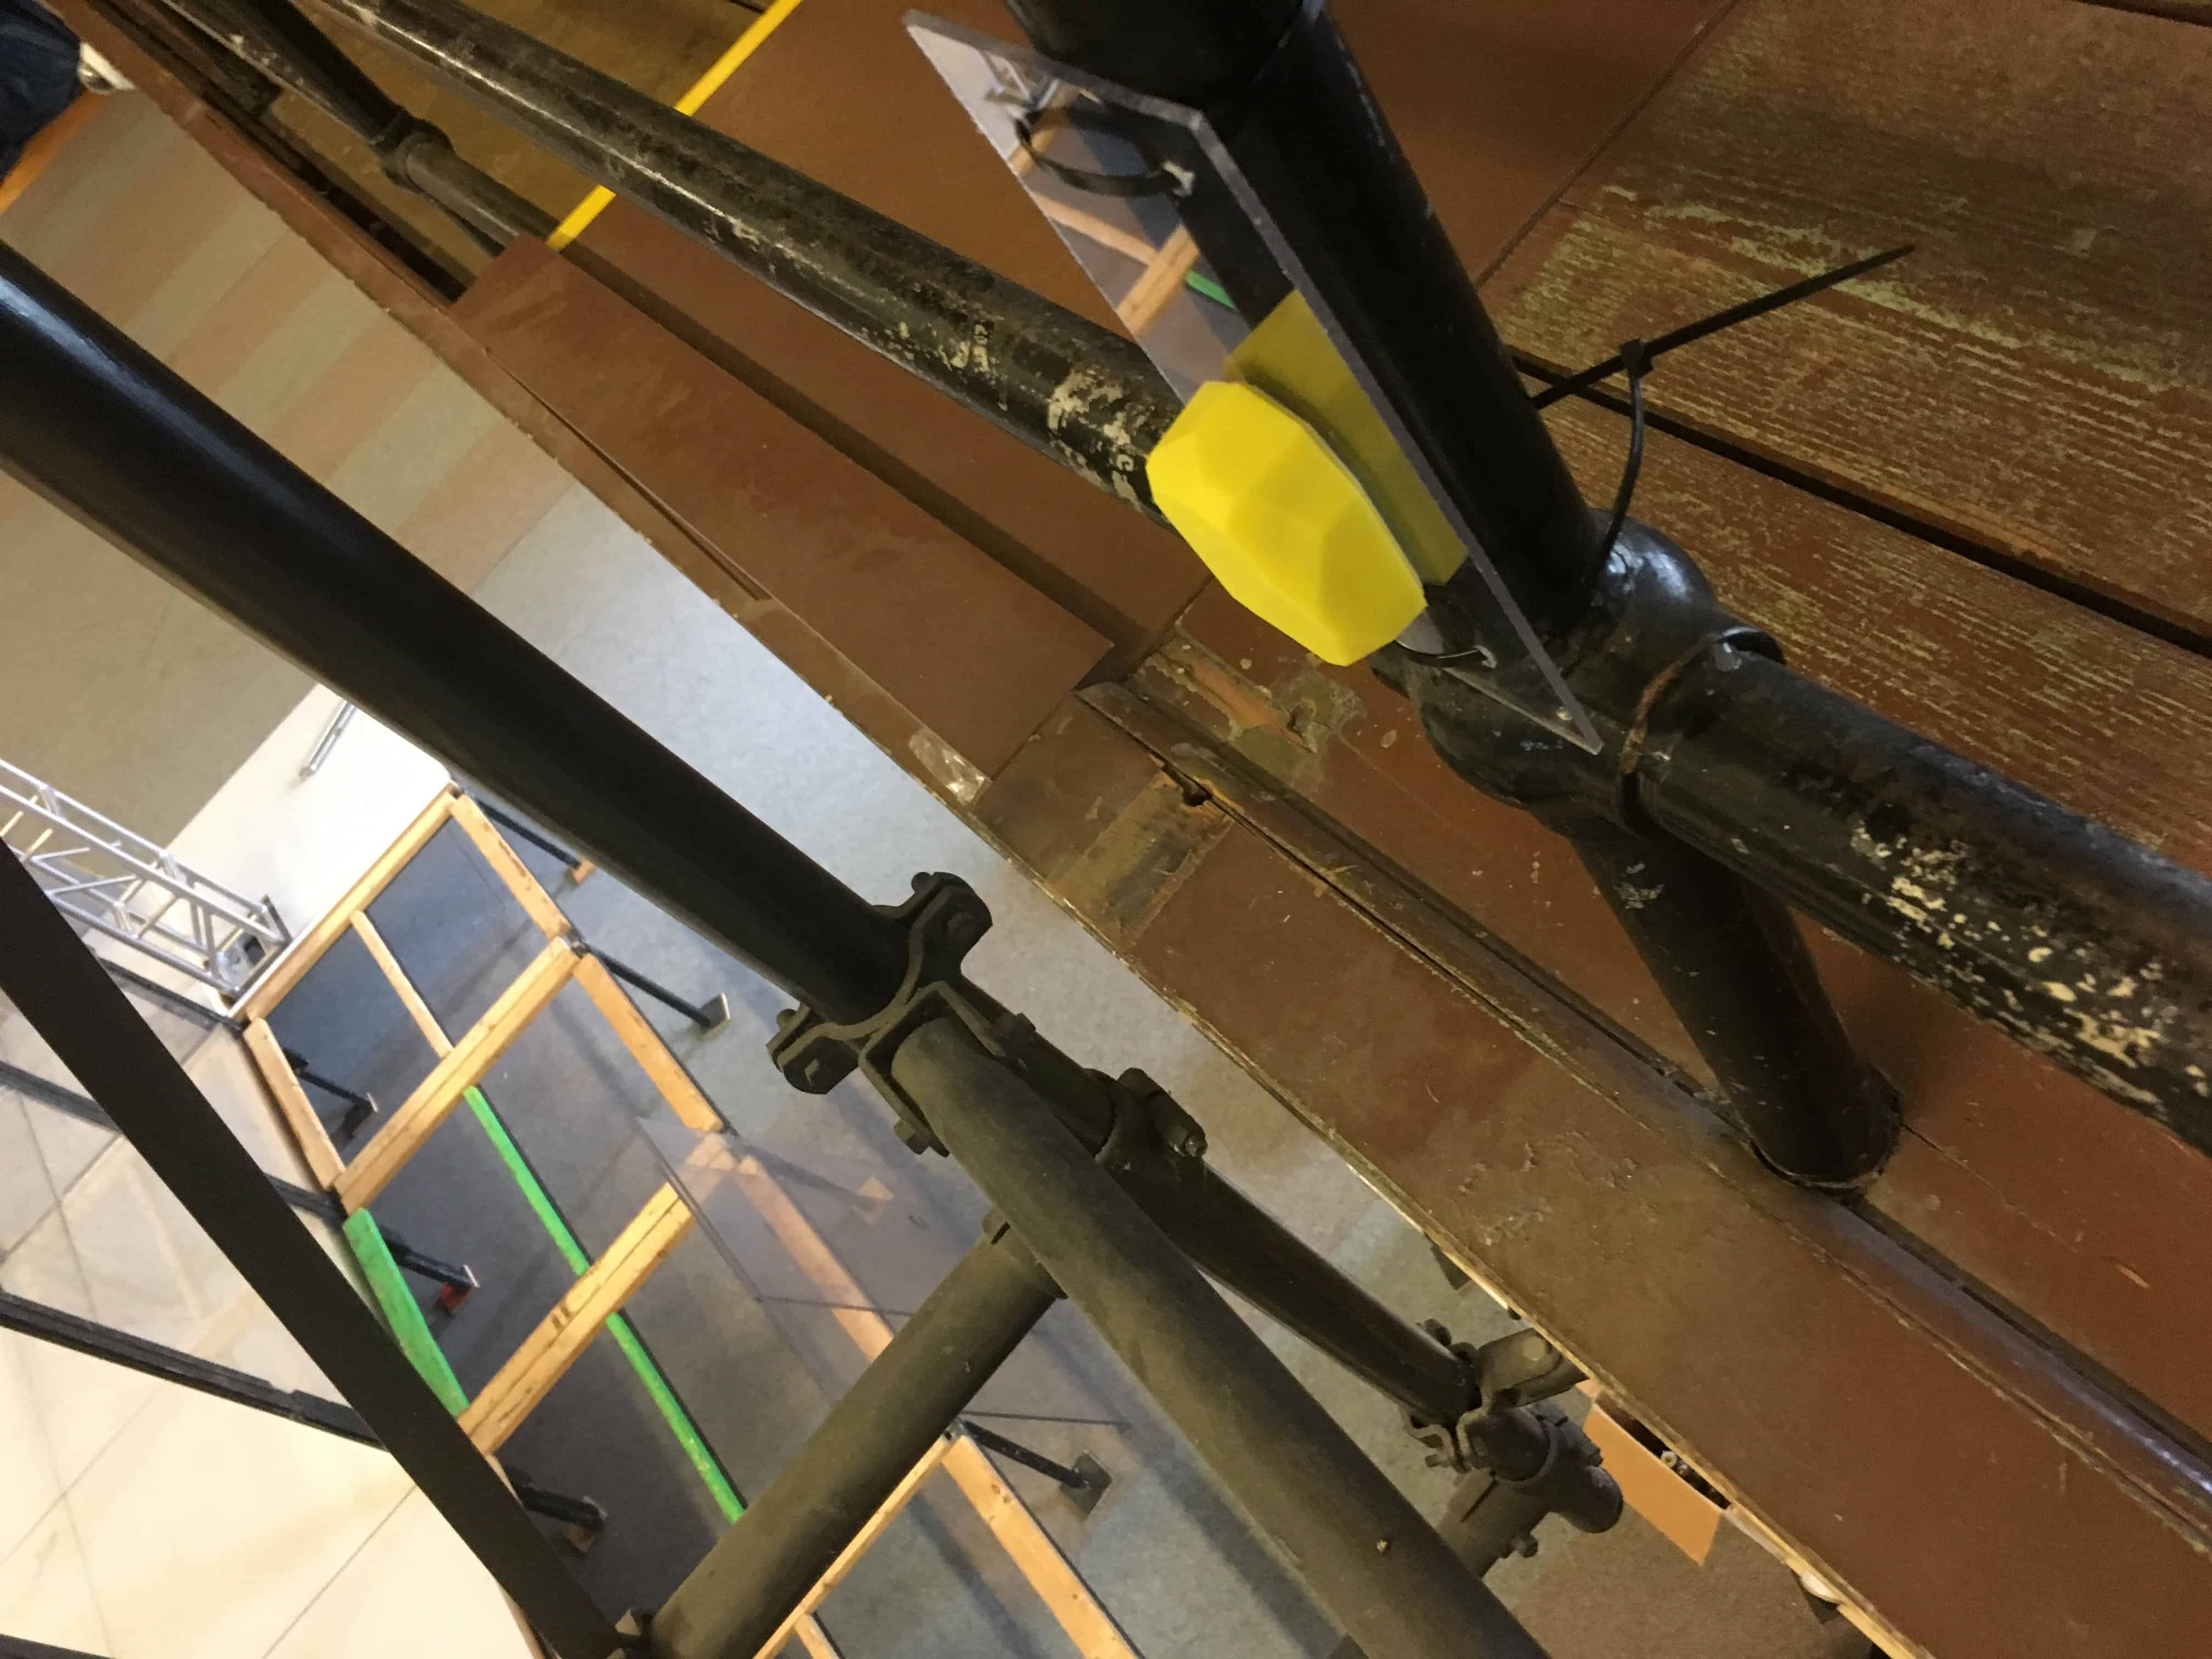
The actual installation situation is shown in the photos below.
 During the installation, the location of installation is recorded in terms of which wall the beacon is installed, and the distance away from another wall that is perpendicular to it. The all beacons created an imaginary “room” with walls that which is defined by a set of points coordinates, will be defined in the location building software.
Location building Software
After the completion in of the phase of physical installation, the second step is to generate map by building an location builder software using the SDK provided by the manufacturer of the location beacons. BitCorn is using the products from Estimote Inc. In the software aspect, they only provide a SDK for IOS device. The mapping software was wrote by us on the Xcode, a Apple IDE, and it was run on the IOS simulator of the XCode. Before start writing the program, create a Xcode project and install the estimote SDK. The go to the App.Delegate.swift file, start coding in the function
func application(_ application: UIApplication, didFinishLaunchingWithOptions launchOptions: [UIApplication.LaunchOptionsKey: Any]?) -> Bool
The first step toward the building the is to build the location EILLocationBuilder Object.
let locationBuilder = EILLocationBuilder()
locationBuilder.setLocationName("MRDC 2019 Arena")
locationBuilder.setLocationBoundaryPoints([
     EILPoint(x: 0.00, y: 0.00),
     EILPoint(x: 13.41, y: 0.00),
     EILPoint(x: 13.41, y: 13.41),
     EILPoint(x: 0, y: 13.41)]) //define the shape of the mapping location. Define the rectangle mapping space inside the Kenny Gym. The four points defined below are the four corner points.

locationBuilder.<span class="token function">addBeacon</span>(withIdentifier: "d7b4f2bd36e791c6f62d8f6fd5ea543d",
atBoundarySegmentIndex: 0, inDistance: 0.04, from: .rightSide)
locationBuilder.addBeacon(withIdentifier: "0892d6efc271541cc42746f111492805",
atBoundarySegmentIndex: 1, inDistance: 0.04, from: .rightSide)
locationBuilder.addBeacon(withIdentifier: "7174d54a0122708e8a21e1b2afe84c18",
atBoundarySegmentIndex: 3, inDistance: 7.32, from: .leftSide)
locationBuilder.addBeacon(withIdentifier: "65d5d3c796bd488ca34e209872b8d511",
atBoundarySegmentIndex: 1, inDistance: 7.32, from: .leftSide)
//This part defines the location of each beacon in terms on which wall it is on and the distance from a side of the wall. Notice that all measurements are in meters.
The next part of the code define the magnetic orientation of the mapping location. The orientation is measured via the compass app on iphone. It is suggested that this value to be measured at multiple locations around the mapping location.
locationBuilder.setLocationOrientation(283)
The last part of the location building software is to actually build the location. The beacons will measure the precise distance between each others and generate an electronic map of the location.
let location = locationBuilder.build()

        ESTConfig.setupAppID("<Your_app_ID>", andAppToken: "<Your_app token>")
        let addLocationRequest = EILRequestAddLocation(location: location!)
        addLocationRequest.sendRequest { (location, error) in
            if error != nil {
                NSLog("Error when saving location: \(error)")
            } else {
                NSLog("Location saved successfully: \(location!.identifier)")
            }
        }
In order for devices to use the map, it need to be uploaded to the estimote cloud. That is what ESTConfig object is for. It upload the generated map to the manufacture’s cloud service Estimate cloud. And after that, it can be used by applications.
After the code is written, run the location building software from the IOS simulator, as shown in the screen shoot below.

After the application is launched, a map of the mapping location is generated and uploaded to the cloud.


